Place an image on a PDF page at an exact size
Most "image to PDF" tools just stretch your picture to fill the page. pixonpage lets you put a photo, scan or logo on a page at a precise size, position and margin — ideal for printing photos, ID/passport pictures, labels, or simple layouts. It's free and runs entirely in your browser, so your files are never uploaded.
Step by step
-
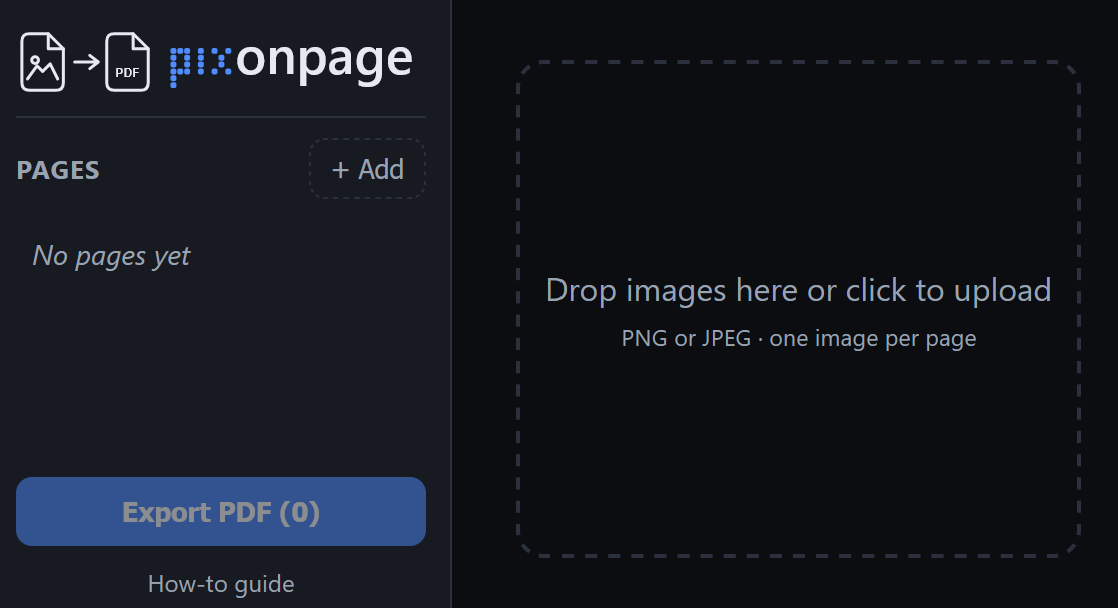
Add your images. Open pixonpage and drop in PNG or JPEG files
(or click + Add). Each image becomes its own page. Adding a whole batch at once is
fine — a progress bar tracks the import and a single unreadable file is skipped rather than
stopping the rest.
- Choose the page. Pick a page size — A0–A5, Letter, Legal, Tabloid or a custom size — and portrait or landscape, in the Page section. You can do this before adding any images: set the size, orientation and margins first and the images you import next are created with that setup. New pages otherwise match the page you're editing, and your last-used setup is remembered the next time you visit.
-
Position & size the image. Drag it to move, drag the corner/edge handles to
resize, or type exact X / Y / width / height in millimetres or inches. Keep
Lock aspect ratio on to preserve proportions. Measurements show right on the page.
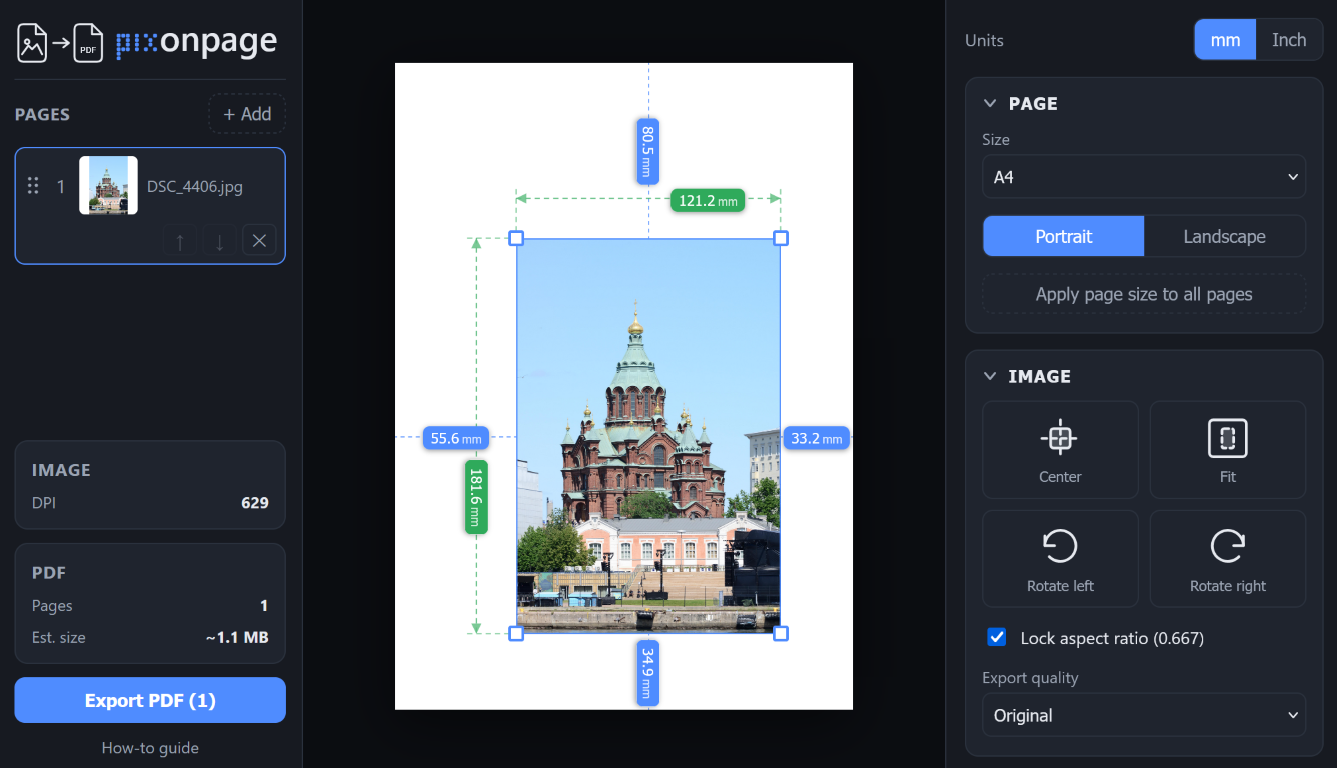
- Margins, center, fit. Set per-side margins, or use Center and Fit to drop the image in cleanly.
-
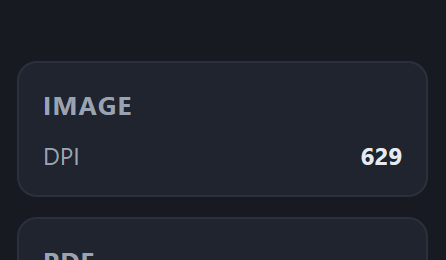
Check the print resolution. The Image panel shows the effective
DPI at the current size. Aim for 300+ for a sharp print
(under 150 will look pixelated).
-
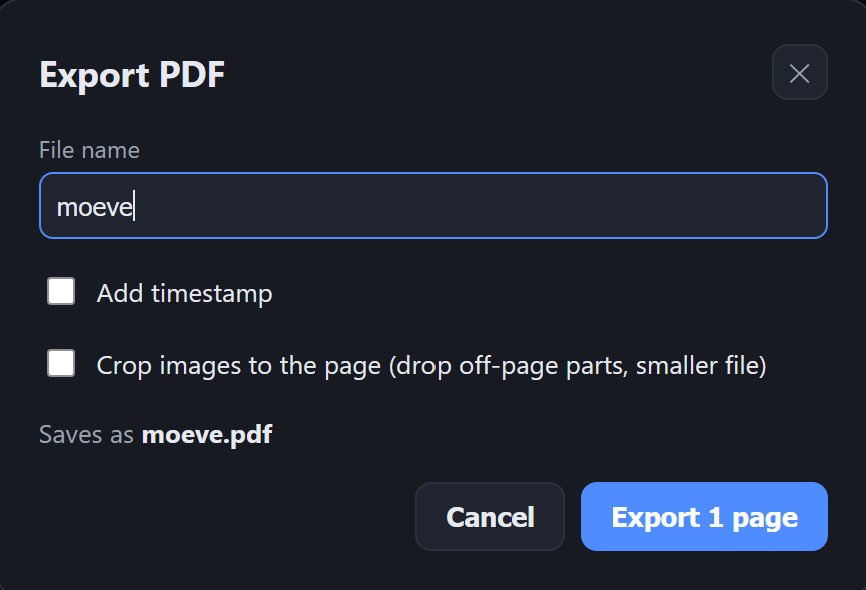
Export the PDF. Click Export, name your file (optionally add a
timestamp or crop overflow to the page), and download a print-ready PDF.
🔒 Private by design. pixonpage runs 100% in your browser — your images never leave your device and are never uploaded to a server.